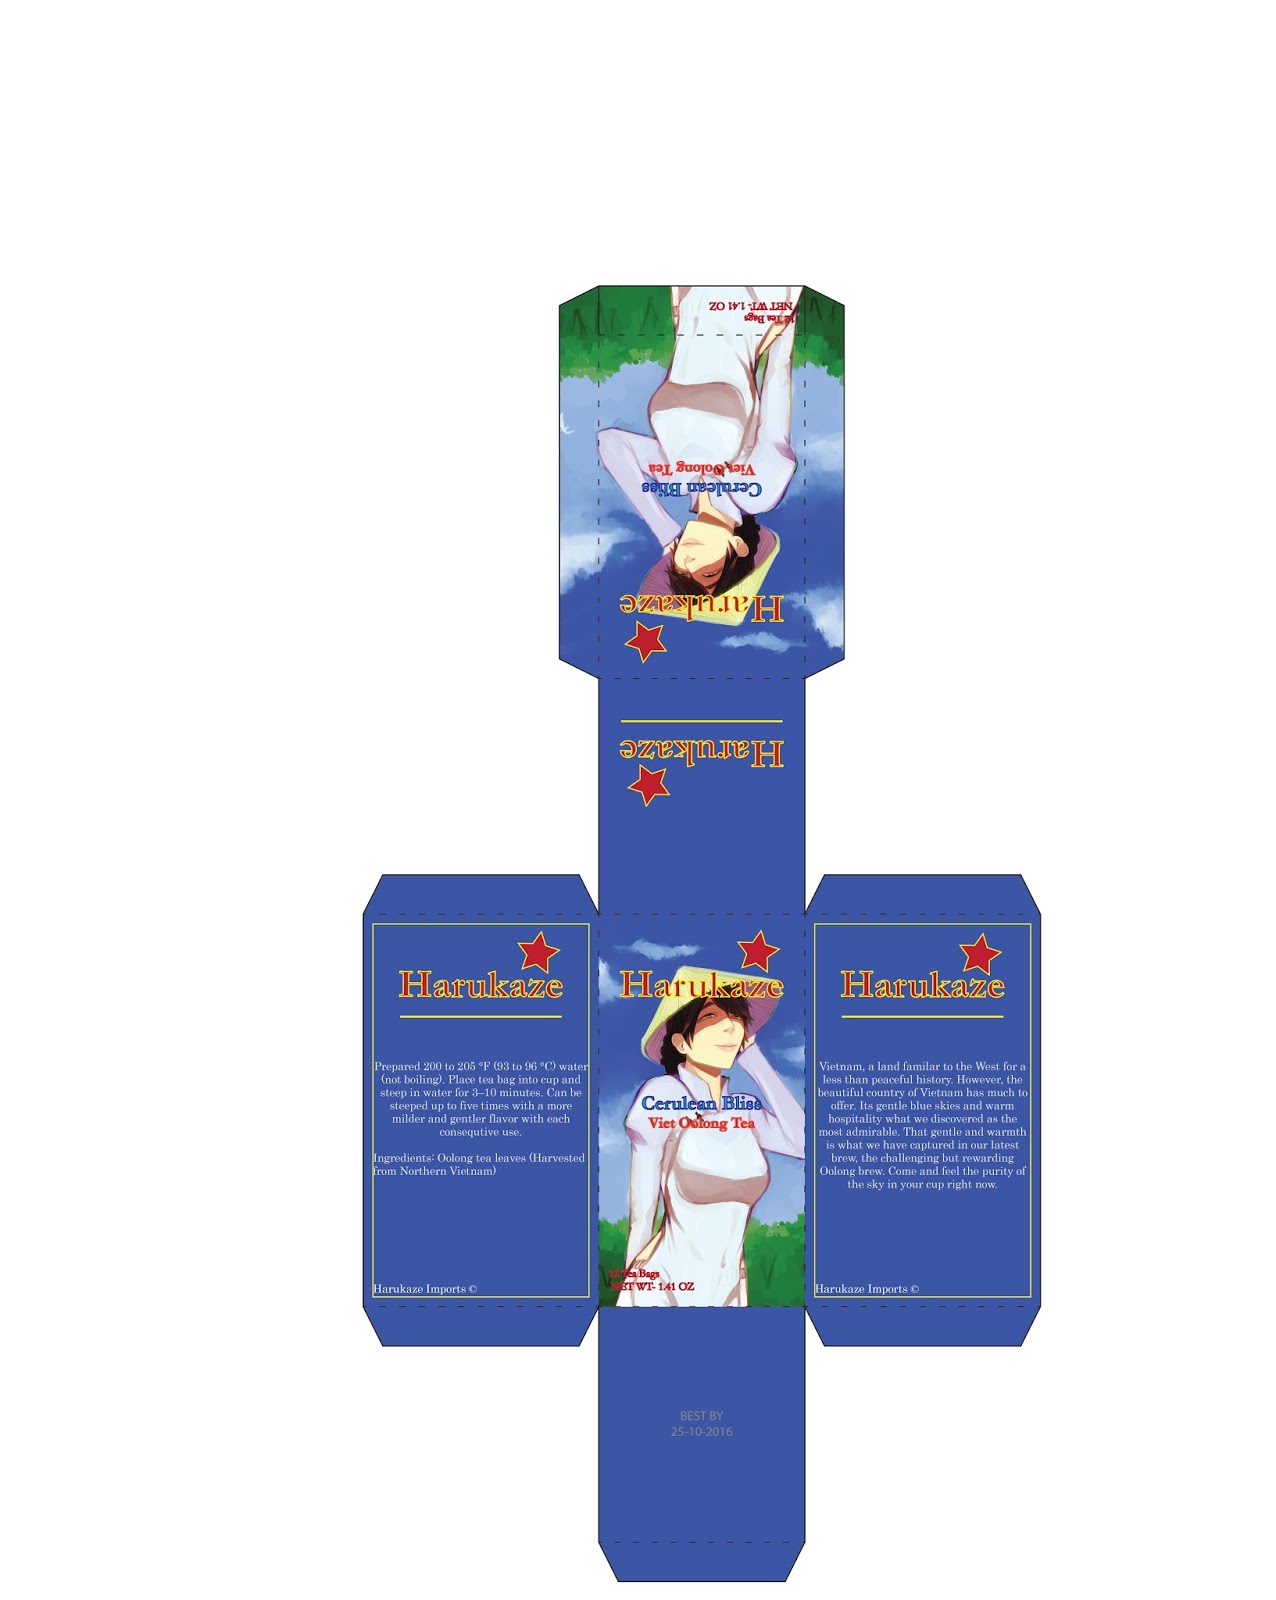
This week was exhausting and laborious. We discussed our next project, designing a tea box. We had specific instructions on the layer designs and dimensions of the three objects, the tea box, tea bag container and tea bag tab. Like the previous weeks, we utilized Adobe Illustrator for drafting our shapes and used various shortcuts to add in pictures. These were my results.


Composition: The previous weeks of using Adobe Illustrator and a Mac Desktop computer as well as a flash drive were played out this week. From what we did last time, we were lucky to just enhance our designs to make one cohesive unit. I decided to keep one design and brand and change up the art style.
Craft: The assignment required us to redesign the tea boxes and tea bag envelope and tea bag tab to form some kind of cohesion. The process began by first drafting the designs in Adobe illustrator by making the outline of the shapes, including the tabs, with the pen tool. With the grid of Illustrator up and snap to grid selected, I drafted as I had done in previous weeks but this time, the cut and folding lines were on separate layers. Following from that, I would create a third layer and copy and past the line layers into that third layer. Then I would click on the outer layer and click the "Draw inside" option. Copying an image, artworks of mine, I then pasted it and moved the image to its desired spot. On a new layer, I added text as was instructed. I did this process for all the designs. Afterward, I exported them as jpegs and saved.
Concept: The concept of these pieces was to create tea boxes and bags envelopes to form a collection of similar products. For that, I chose to keep a single design and brand and change the art style to form different tea brews in a series. By doing this, I was able to portray a commonality rather separation.
Below
Box and Envelope designs


Final product

Craft: The assignment required us to redesign the tea boxes and tea bag envelope and tea bag tab to form some kind of cohesion. The process began by first drafting the designs in Adobe illustrator by making the outline of the shapes, including the tabs, with the pen tool. With the grid of Illustrator up and snap to grid selected, I drafted as I had done in previous weeks but this time, the cut and folding lines were on separate layers. Following from that, I would create a third layer and copy and past the line layers into that third layer. Then I would click on the outer layer and click the "Draw inside" option. Copying an image, artworks of mine, I then pasted it and moved the image to its desired spot. On a new layer, I added text as was instructed. I did this process for all the designs. Afterward, I exported them as jpegs and saved.
Concept: The concept of these pieces was to create tea boxes and bags envelopes to form a collection of similar products. For that, I chose to keep a single design and brand and change the art style to form different tea brews in a series. By doing this, I was able to portray a commonality rather separation.
No comments:
Post a Comment