This week we discussed and drafted more 3D cubic shapes for use of the paper cutter and program Silhouette Studio. Like last week, we utilized Adobe Illustrator for drafting our shapes. Compared to the paper drafting, this was much more convenient and easier to do. These were my results of Illustrator drafting.


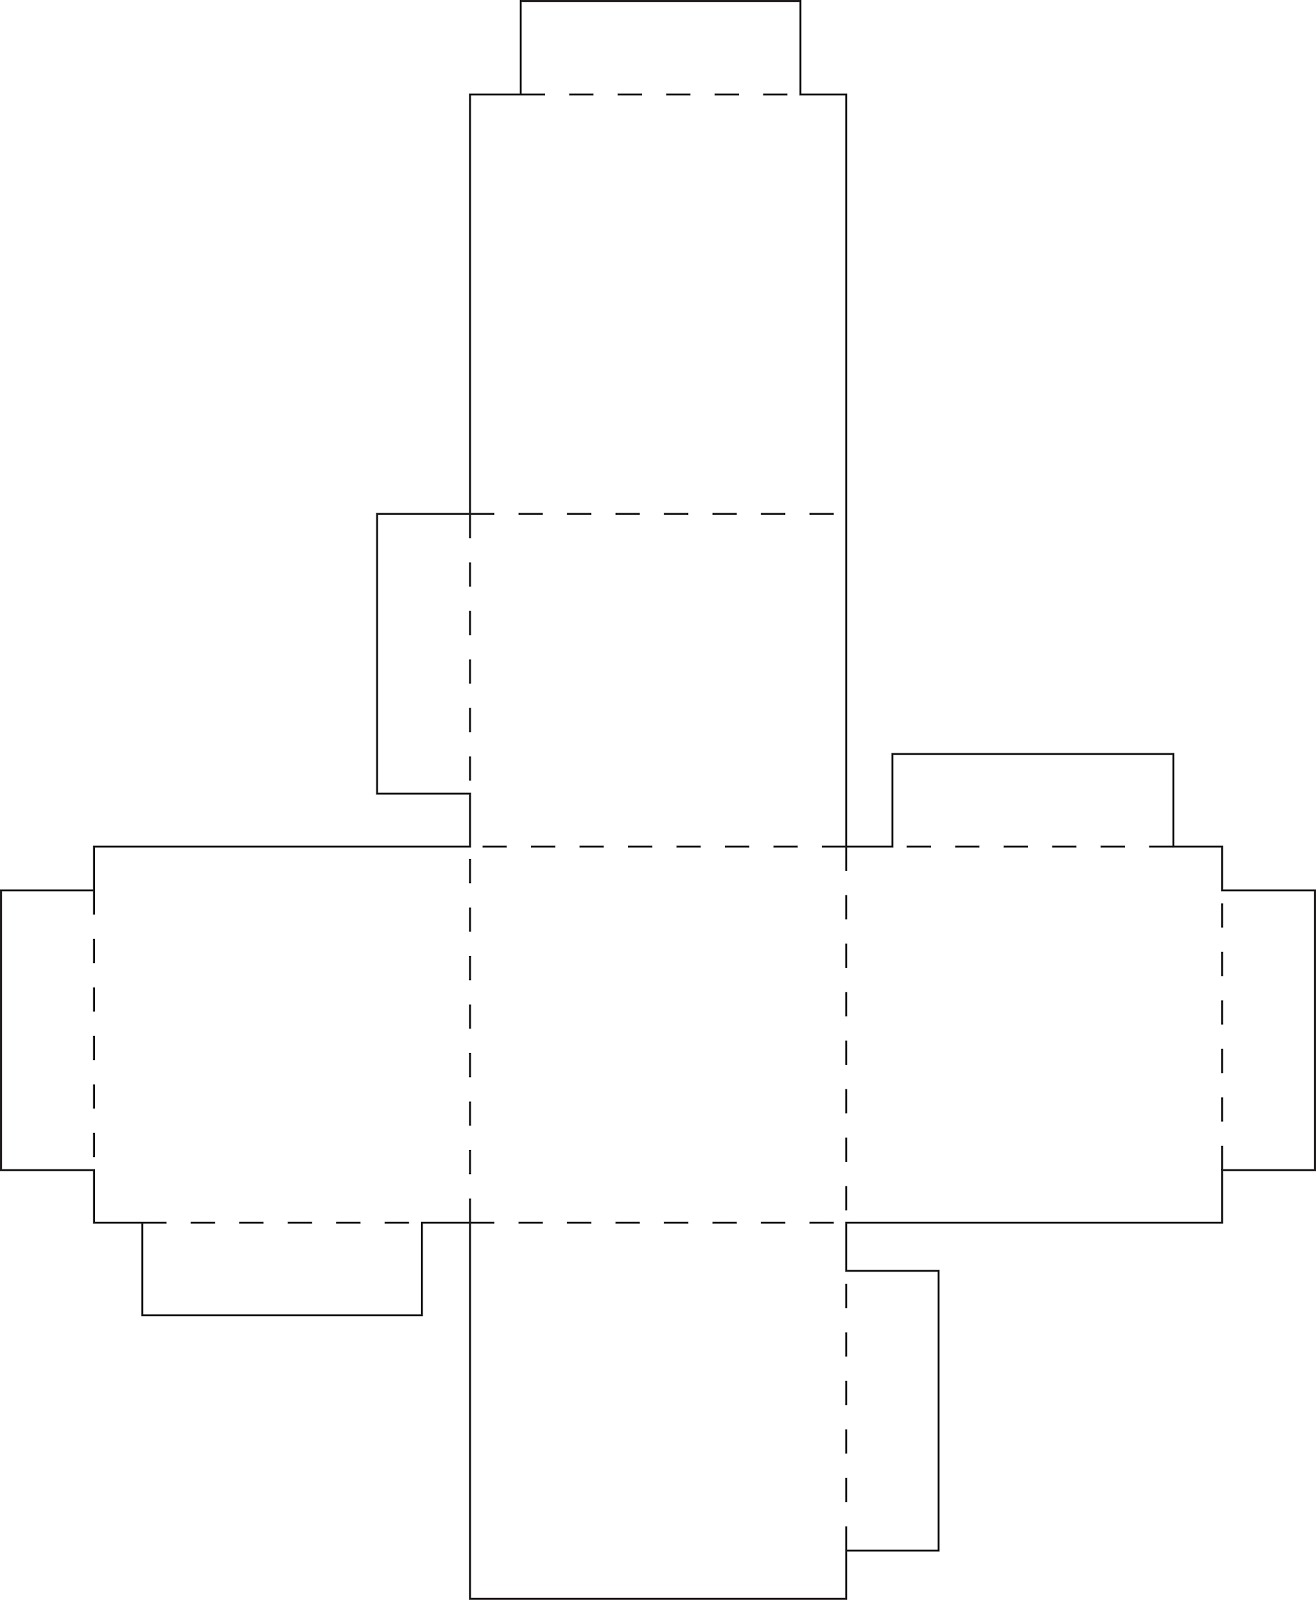
Craft: The five shapes was created by first drafting the designs in Adobe illustrator by making the outline of the shapes, including the tabs, with the pen tool. With the grid of Illustrator up and snap to grid selected, I was able to accurately size the cube and other shapes. Following from that, I then used the line segment tool to make the dashed lines of the folds with a 6pt dash and 12 pt spacing by making a line and clicking the stroke icon and selecting dash. This was all created on a single layer. From then, we would export the file as an AutoCAD Interchange File or .dxf file. Following that, we'd go into the program Silhouette Studio, the program for the paper cutter and drag the file into it. Once the settings were set up for card stock paper then I would hit the cut button and the cutter would cut the design into the paper. Following the completion of the cut, I would clear the cutter and remove the cutting map, pulling off the now cut paper. After that, I would fold the design into shape. The images are below of the shape.
Concept: The concept of these pieces was to continue and better refine our drafting skills and with Adobe Illustrator as well. Being able to fully grasp the inner workings of the industry standard and of the paper cutter. It was a well received lesson and important aspect of this week and something we will continue to work on in this class moving forward.


Composition: The materials I used to design these 3D shapes the same as last week, Adobe Illustrator and a Mac Desktop computer. Since last week, the workflow of drafting these figures was very substantially quicker but no less draining and boring. Since they had to be different in design, the challenge was envisioning how insert tabs worked and how to portray that. Personally, I prefer the insert tabs since they remove much of the hassle of interior adhesives.

Craft: The five shapes was created by first drafting the designs in Adobe illustrator by making the outline of the shapes, including the tabs, with the pen tool. With the grid of Illustrator up and snap to grid selected, I was able to accurately size the cube and other shapes. Following from that, I then used the line segment tool to make the dashed lines of the folds with a 6pt dash and 12 pt spacing by making a line and clicking the stroke icon and selecting dash. This was all created on a single layer. From then, we would export the file as an AutoCAD Interchange File or .dxf file. Following that, we'd go into the program Silhouette Studio, the program for the paper cutter and drag the file into it. Once the settings were set up for card stock paper then I would hit the cut button and the cutter would cut the design into the paper. Following the completion of the cut, I would clear the cutter and remove the cutting map, pulling off the now cut paper. After that, I would fold the design into shape. The images are below of the shape.
Concept: The concept of these pieces was to continue and better refine our drafting skills and with Adobe Illustrator as well. Being able to fully grasp the inner workings of the industry standard and of the paper cutter. It was a well received lesson and important aspect of this week and something we will continue to work on in this class moving forward.